Homeschool Tracker Installation
To Install Homeschool Tracker Plus on your computer running a Windows operating system of XP or higher:
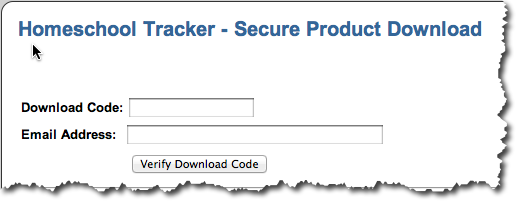
1. Enter your assigned download code and download email. If you need assistance with these items, please send an email with your full name and mailing address to support@homeschooltracker.com. After you've entered your code and email, click Verify Download Code
2. If you are updating, and have Homeschool Tracker running, please close it now. Click the "click here to begin download" link

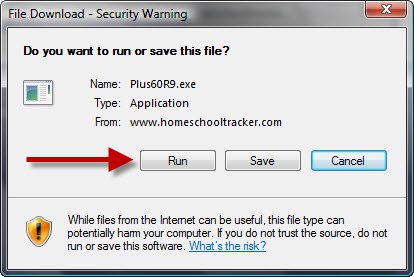
3. In the File Download window, choose RUN. By choosing RUN, you are telling the installer to download the file and immediately proceed with the automated installation process.
4. If you are using Firefox or another browser that insists that you save the file first, make sure you know where that file will be saved as you'll need to find the file and double-click on it to begin the install process.
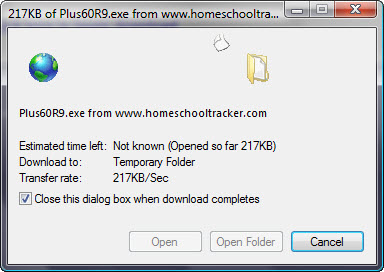
5. You will need to wait for the file to download. Even when installing an update, the full 8 MB file will be downloaded. Wait for the download of the file to be completed.
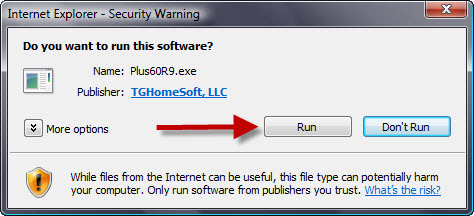
6. When the file has been completely downloaded, a new window will appear asking "Do you want to run this software?" Choose RUN. Depending on your operating system and your security settings, you may need to confirm that you wish to install this program.
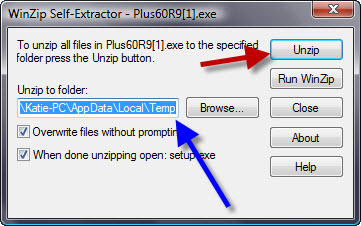
7. The next window to appear is the WinZip Self Extractor window. The installation process will choose a specific location where the files will be placed after unzipping. Generally, you can just leave this choice. If you have any issues with the process after this point, you may want to change this to your Desktop.
8. Click the UNZIP button
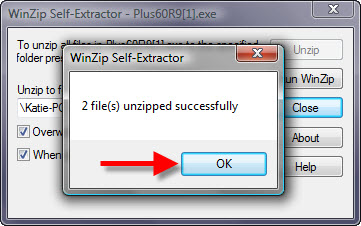
9. You will then see a message saying "2 file(s) unzipped successfully." Click OK.
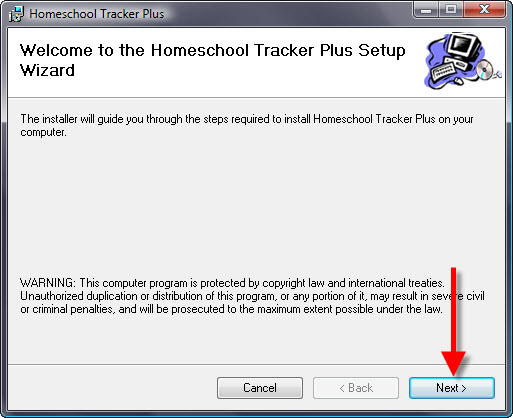
10. Now you will begin the actual Setup Wizard. Click Next.
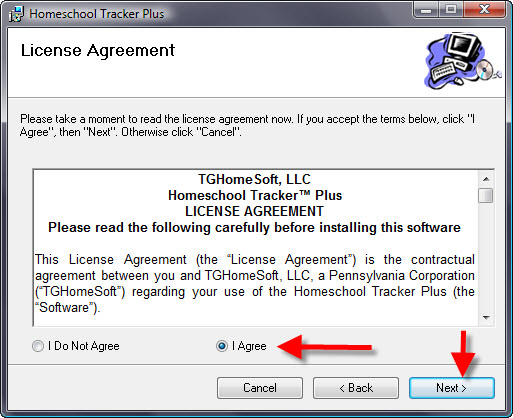
11. Next is the user license agreement. You should review the license at this time. Choose ‘I Agree' to enable the ‘Next' button, and then click Next.
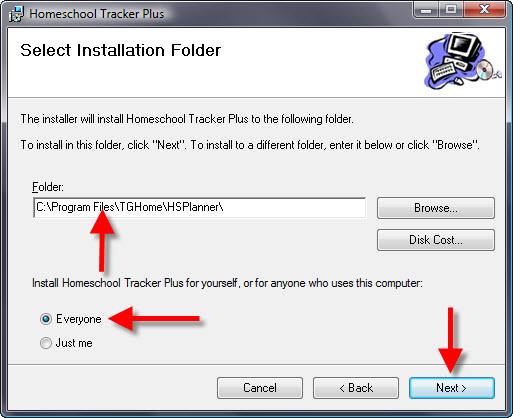
12. You will then be asked where you want to install the program. It is generally best to go with the suggested folder of C:\Program Files\TGHome\HSPlanner so choose EVERYONE (if that's an option at the bottom of the window) and then click Next
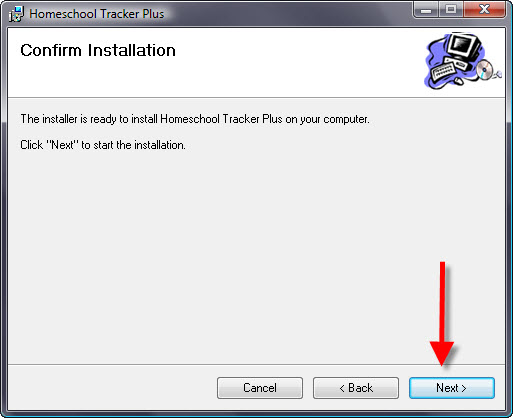
13. At the Confirm Installation step, click Next again to begin the actual installation of the program.
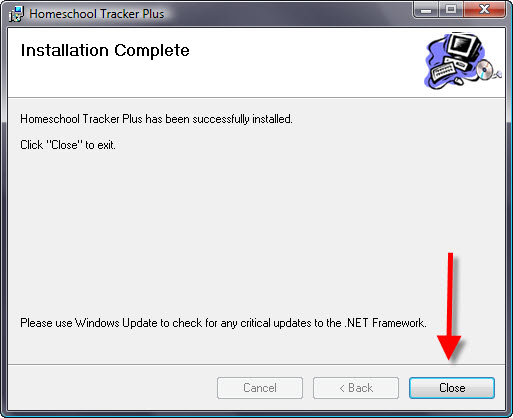
14. The next window will show a progress bar as the program is actually installed. This should take less than 2 minutes. When it is done you'll see an "Installation Complete" message - click CLOSE
15. You will now have a program icon on your desktop. Double-click the icon to start the program. The program will open and a "Getting Started" window will appear with some information for you